•
Tutorials: Adobe Photoshop: Pixel Box Text
This is my second tutorial on adobe for all you people so I ask kindly not to duplicate this tutorial by any means. You are free to link to this page though :)
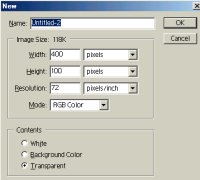 |
Start off by making a new file(Ctrl+N), any size you feel is enough for your text. I made mine 400 pixels in width and 100 pixels in height.
|
 |
Fill in the background with the color black(Ctrl+Backspace), the next step is to add your text, you do this by using the Text Tool(left read arrow on image) and selecting a font, size, color(right red arrow on image) then type something on there. For this tutorial i'm typing "DBGTNET" with a white text color.
|
|
Now rasterize your image by going to "Layer" category then "Rasterize > Type". Merge the layers by pressing "Ctrl+E". We now need to duplicate the layer, you can do this by going to the "Layer" category then "Duplicate Layer" click ok on the window that pops up.
|
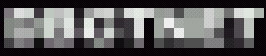 |
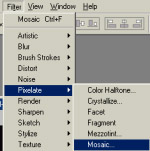
Next step is to start adding the block effect, insert the effect to the new duplicate layer by going to "Filter" category then "Pixelate > Mosaic.." enter 10 in the window that pops up and click ok.
|
 |
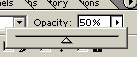
Now decrease the opacity of the layer to 50%.
|
 |
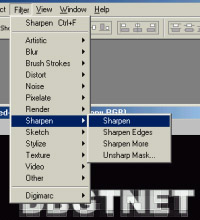
Now to apply more filters, go to the "Filter" category and then select "Sharpen > Sharpen". Repeat this 2 more times and you're done.
|
 |
If you want to add color to it you can do so by going to "Image" category and then select "Adjust > Hue/Saturation". Make sure the "colorize" check box or else the colors won't be applied. You should now have a finished pixel box text effect, use it wisely :D
|
Written by fRaNk, have any questions click here for contact info.
|